Guides
Tutorials to get your TLD up & running
Guide #01: Dolo, nsd, and nginx
Prerequisites
- Handshake TLD (and Handshake wallet, by extension)*
- IPv4 of your VPS (we’ll install nsd and nginx on it)
- SFTP client
- terminal/terminal emulator
- patience
* This guide assumes you own a Handshake TLD; either self‑custodied or within your account on a marketplace like Shakestation or Namebase. Please refer to those platforms for information on how to acquire HNS tokens/TLDs.
Run Dolo
On the New Export screen, enter your TLD (in ASCII/punycode) and nameserver IP, and click “generate.” A future update will automatically convert Unicode/emoji to their ASCII/punycode variants and support IPv6 addresses.

The generation is nearly instant and you should see something like this:
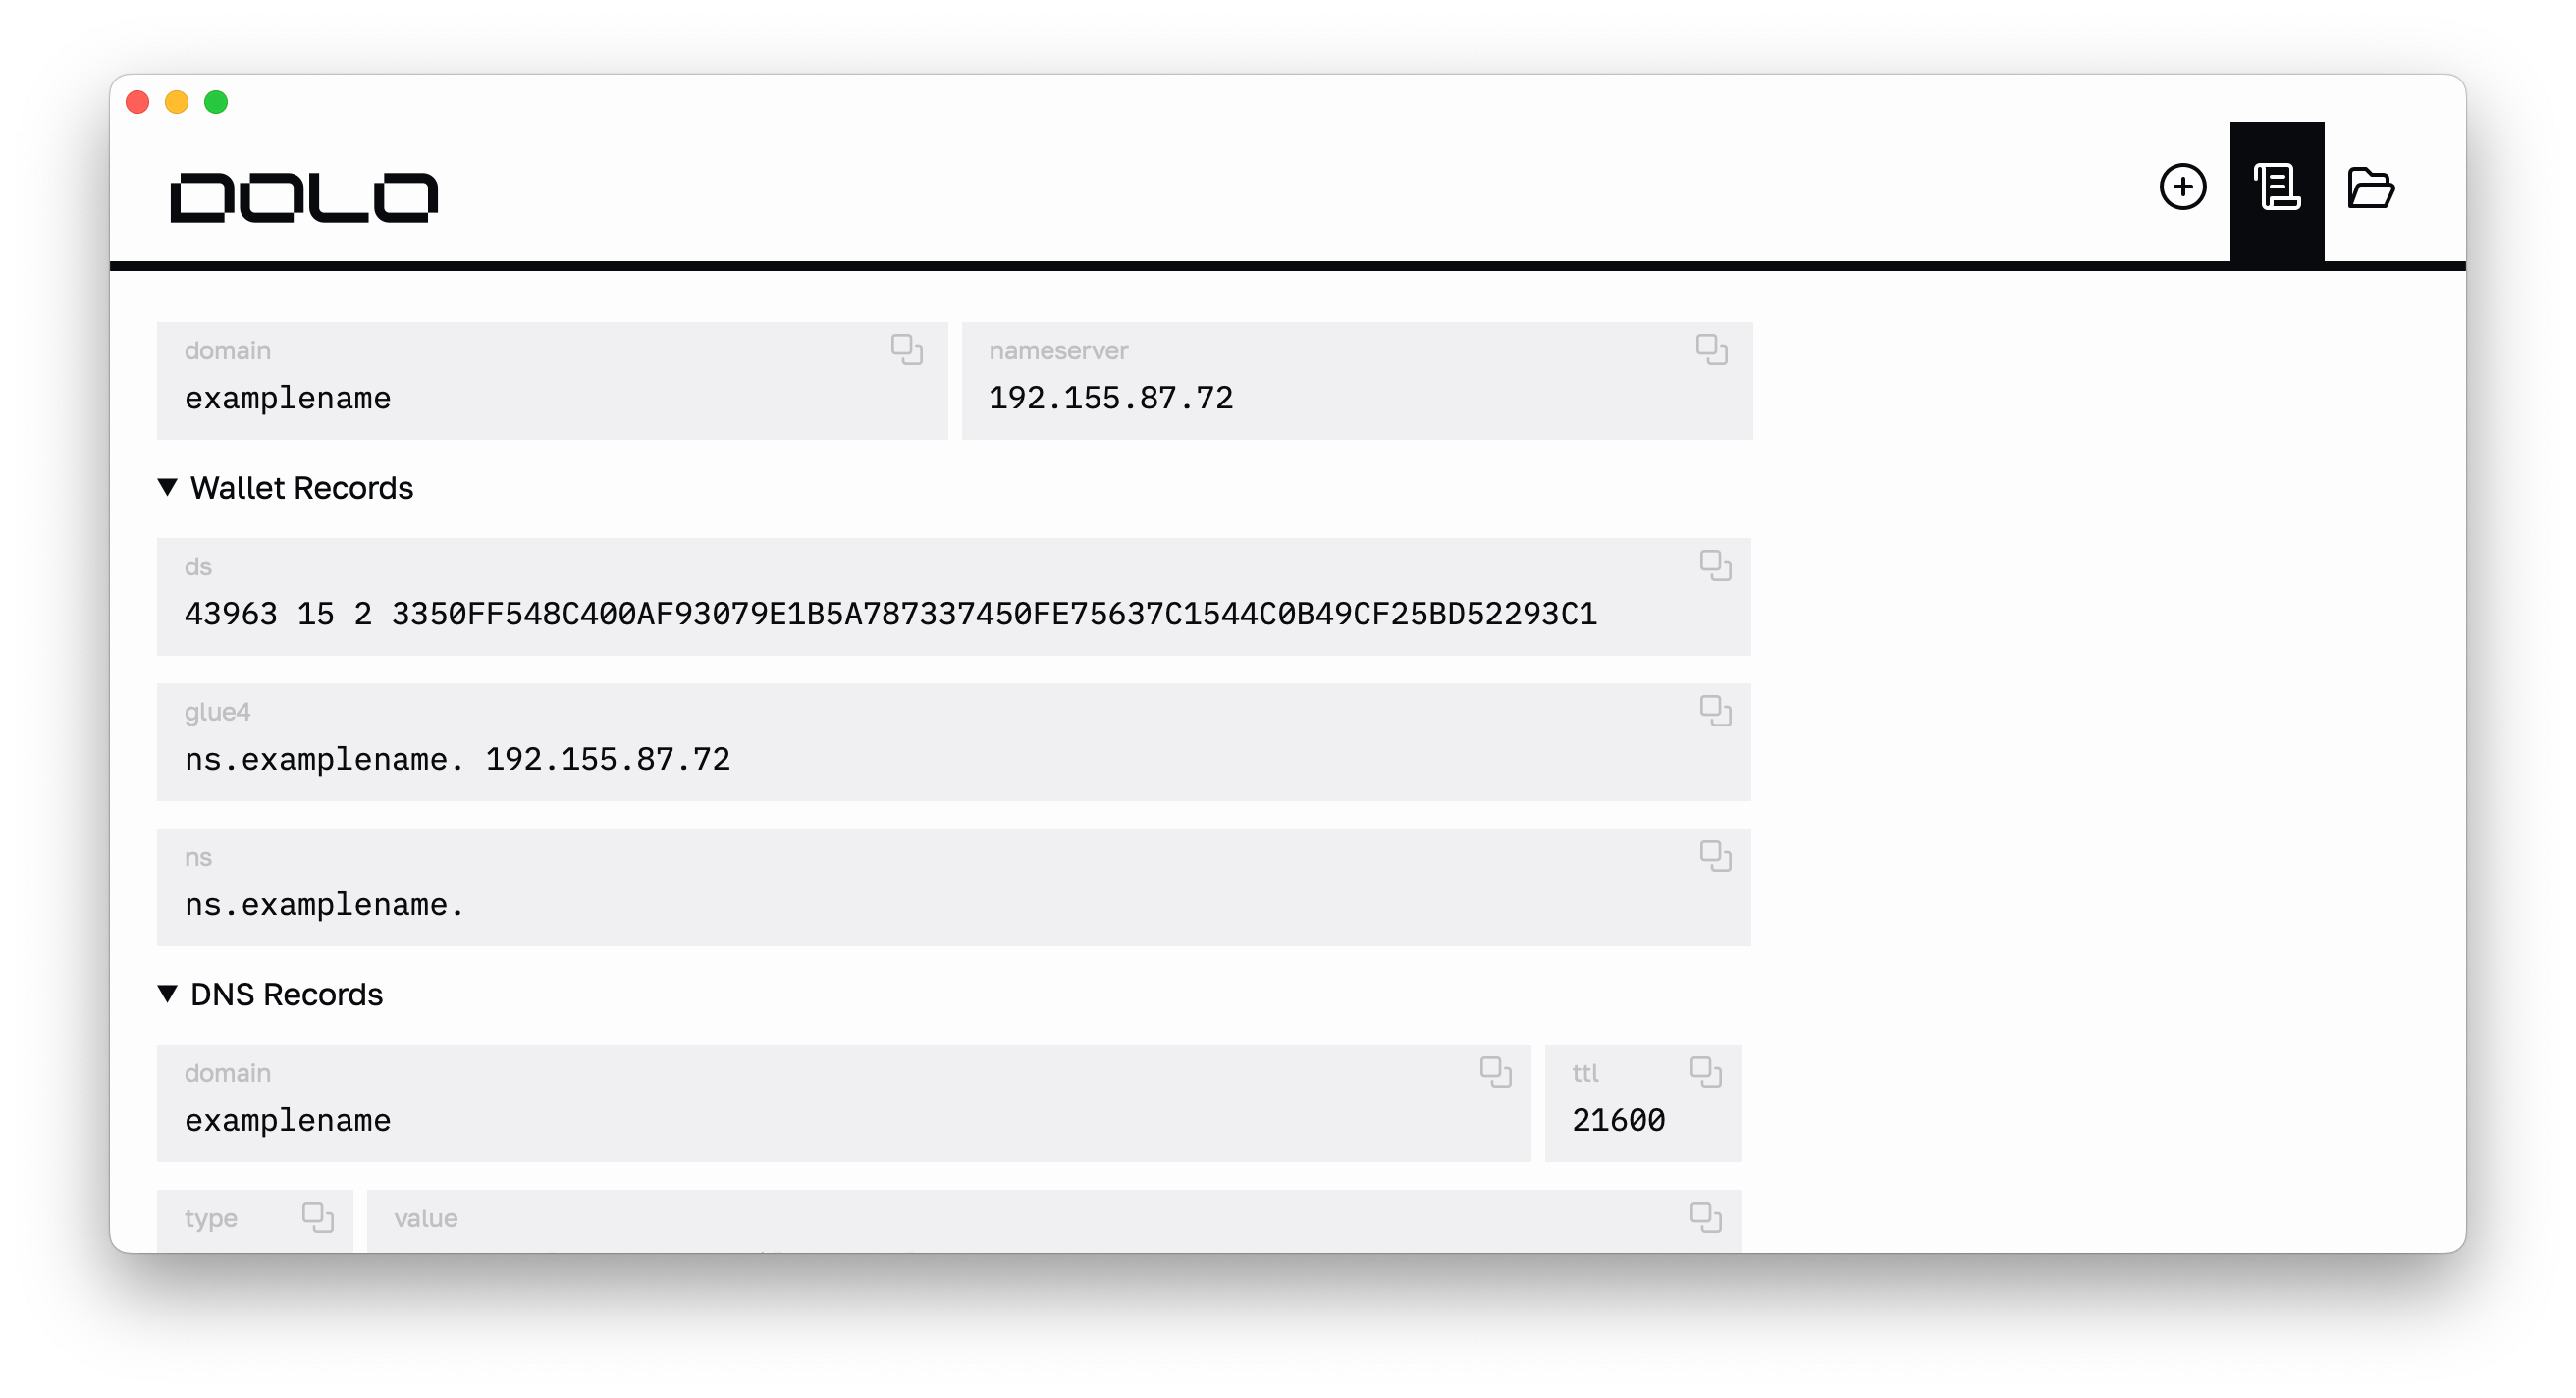
Update blockchain records
Copy the DS, GLUE4, and NS fields in the “Wallet Records” section and apply them to your TLD.
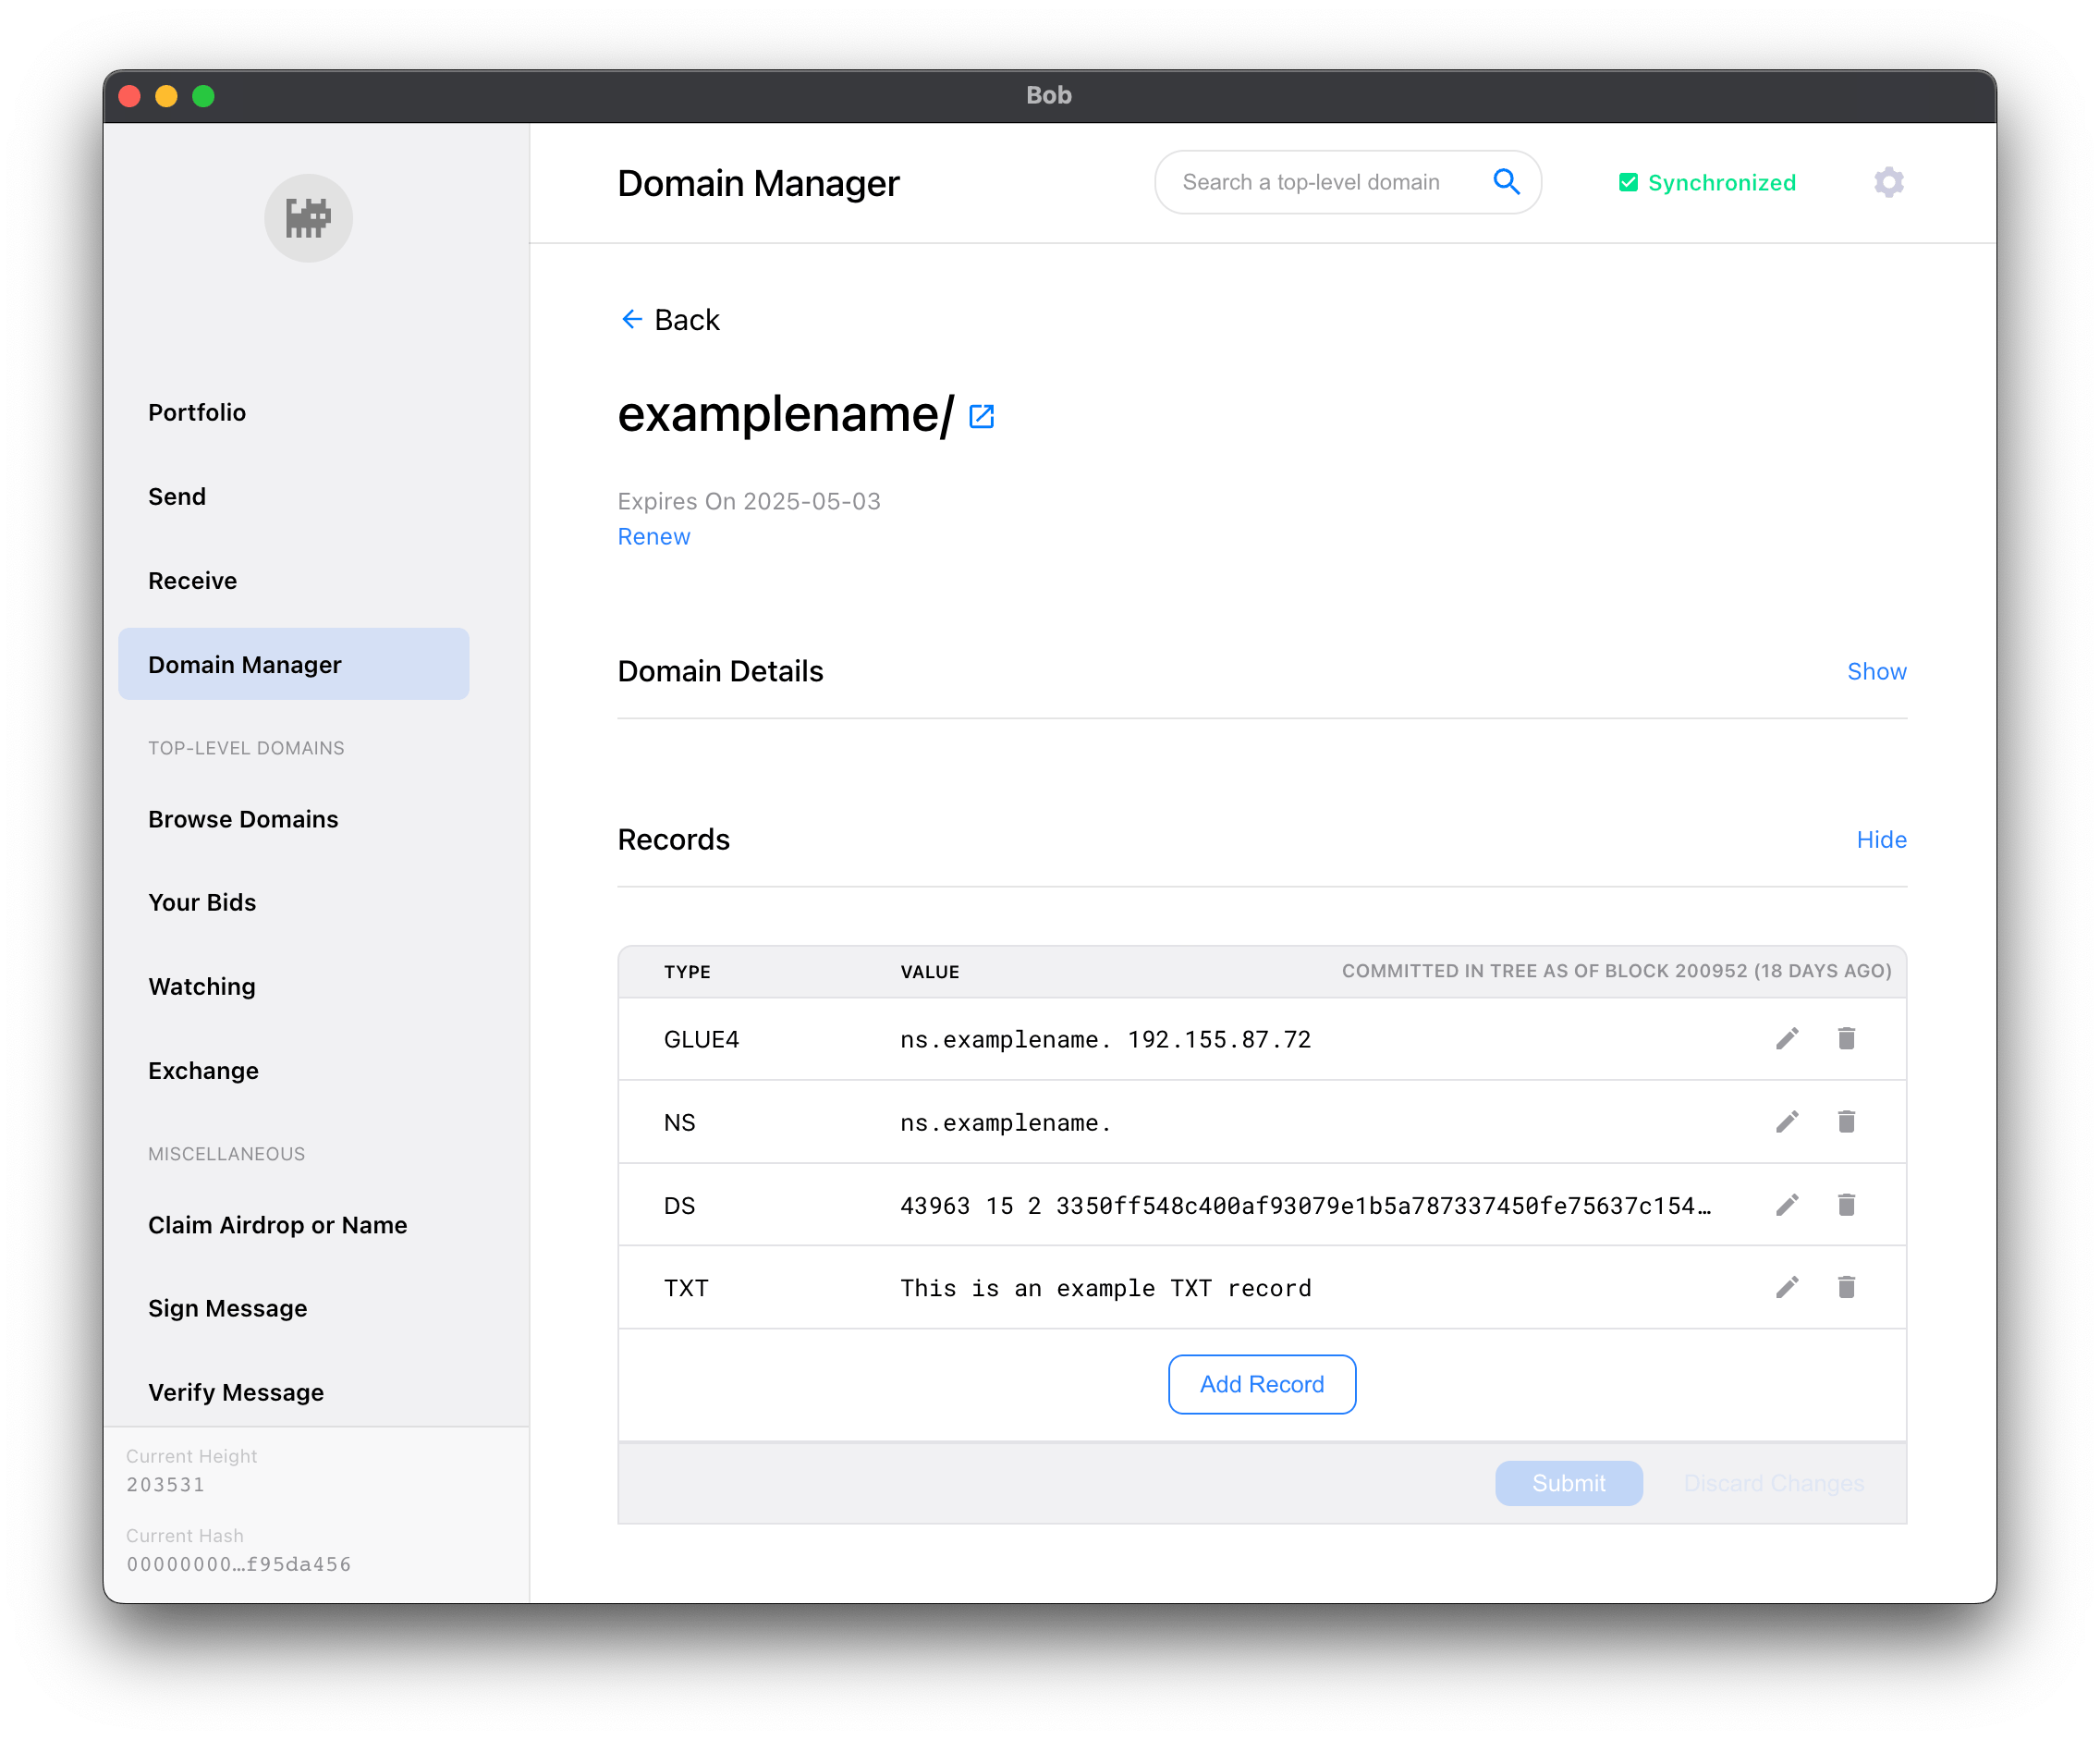
Your TLD updates should get picked up by Handshake in ~15 minutes. The block update where your changes are live occurs 4x a day. Needless to say, you’ll be waiting awhile but that’s okay! Time is security. In the meantime, let’s get our nameserver running.
Before that though, click the folder icon in the top‑right of Dolo; it’ll open your local Documents/Dolo directory with your TLD’s export (we’ll get back to this later).
Prepare nameserver
nsd is authoritative nameserver software from NLnet Labs. It boasts speed, reliability, stability and security; perfect for us.
SSH into your VPS and run these commands. You’re gonna install nsd and create folders:
On your local machine, you should see something like this in the directory you opened via Dolo:
We’re going to upload the contents of ksk and zsk first. SFTP into your VPS and navigate to /etc/nsd/key. Create a folder with the same name as your TLD. Upload your ksk and zsk files to it. You should see something like this:
Next, you’ll upload your zonefile to /etc/nsd/zone (adding onto the previous code snippet for clarity).
Now that your files are in place, let’s update nsd.conf:
Paste the contents of the code snippet below to the nsd.conf file you just opened (replace examplename with the name of your TLD):
When you want to add more TLDs to your authoritative nameserver, just create another zone block. Easy‑peasy.
Save and quit the file. We’re almost done!
A good practice is to check your zone file for any issues before restarting the nsd service:
Et voilà! The weird stuff is done (DNS and blockchain? C’mon). Now it’s time for the webserver. Light work.
You can use any webserver you want but we’ll use nginx.
Setup nginx
What follows is a rather shameless copy/paste from nginx themselves:
Let’s import the official nginx signing key so apt can verify the package’s authenticity. Then, we’ll verify it.
The output should contain the full fingerprint 573BFD6B3D8FBC641079A6ABABF5BD827BD9BF62 (at the time of this post):
If the fingerprint is different, remove the file.
Now we’ll set up the apt repository for mainline nginx packages:
Finally, set up repository pinning to prefer nginx’s packages over distribution-provided ones:
That was a lot of preamble but now we’re finally ready to install nginx.
A website for your TLD?!
Sure, why not? Besides, you have a TLS cert there…use it!
It doesn’t matter where you put your certs, but for examplename, we have the certs for that TLD (and others) in /etc/neuenet.
Wherever your certs, be sure to use this level of organization (or better)!
Don’t worry about the dhparams, that’s an optional file you can generate via OpenSSL (on your local machine to SFTP later). I like generating 4096‑bit dhparams for ridiculous security but it’s time‑intensive; it takes roughly an hour on my machine.
After uploading your cert and key (remember, they’re in the tls folder within your local Documents/Dolo directory), navigate to /etc/nginx/snippets. The placeholder files in there are safe to delete.
Paste these contents into location.conf, and save:
We’ll do the same for another file, security.conf:
When getting examplename online, several pitfalls were encountered. Frantic Kagi searches revealed solutions so, keep these in mind when utilizing self‑signed certs.
Alright! Back out of /etc/nginx/snippets and into /etc/nginx/sites-available; time to create a server block.
It’s a good practice to create a named file for each domain you manage with nginx. Give the file the same name as your TLD (no extension is necessary). Here’s the contents of /etc/nginx/sites-available/examplename:
As you can see, we reference the two snippet files we created earlier. We do this for each of our TLDs, to drastically reduce boilerplate code. The certs and dhparam are also referenced here. Finally, our website for examplename resides in the /var/www/examplename directory.
nginx still doesn’t know about our site though…it looks in the /etc/nginx/sites-enabled directory for sites to serve.
A good practice when working with nginx is to run nginx -t whenever changes are made to config files. If there are errors, it’ll let you know.
Another pitfall we ran into was nginx not picking up our changes (this was discovered by examining the output of nginx -T…similar to the previous command, but uppercase). Turns out, nginx.conf needed an extra directive.
Paste the highlighted line into your nginx.conf and save:
Then:
Amazing…it’s finally over. Phew!
Six hours from now, your TLD updates should be confirmed in the blockchain and picked up by light clients. Your DNS changes propagate a lot quicker. Rithvik Vibhu operates a hella useful tool that analyzes DNS, DANE, and DNSSEC for Handshake TLDs — htools. It’s open-source so you can run your own as well.
FIN
Once you get equipped with a Handshake light client, you’ll be able to visit https://examplename and see this lovely site:
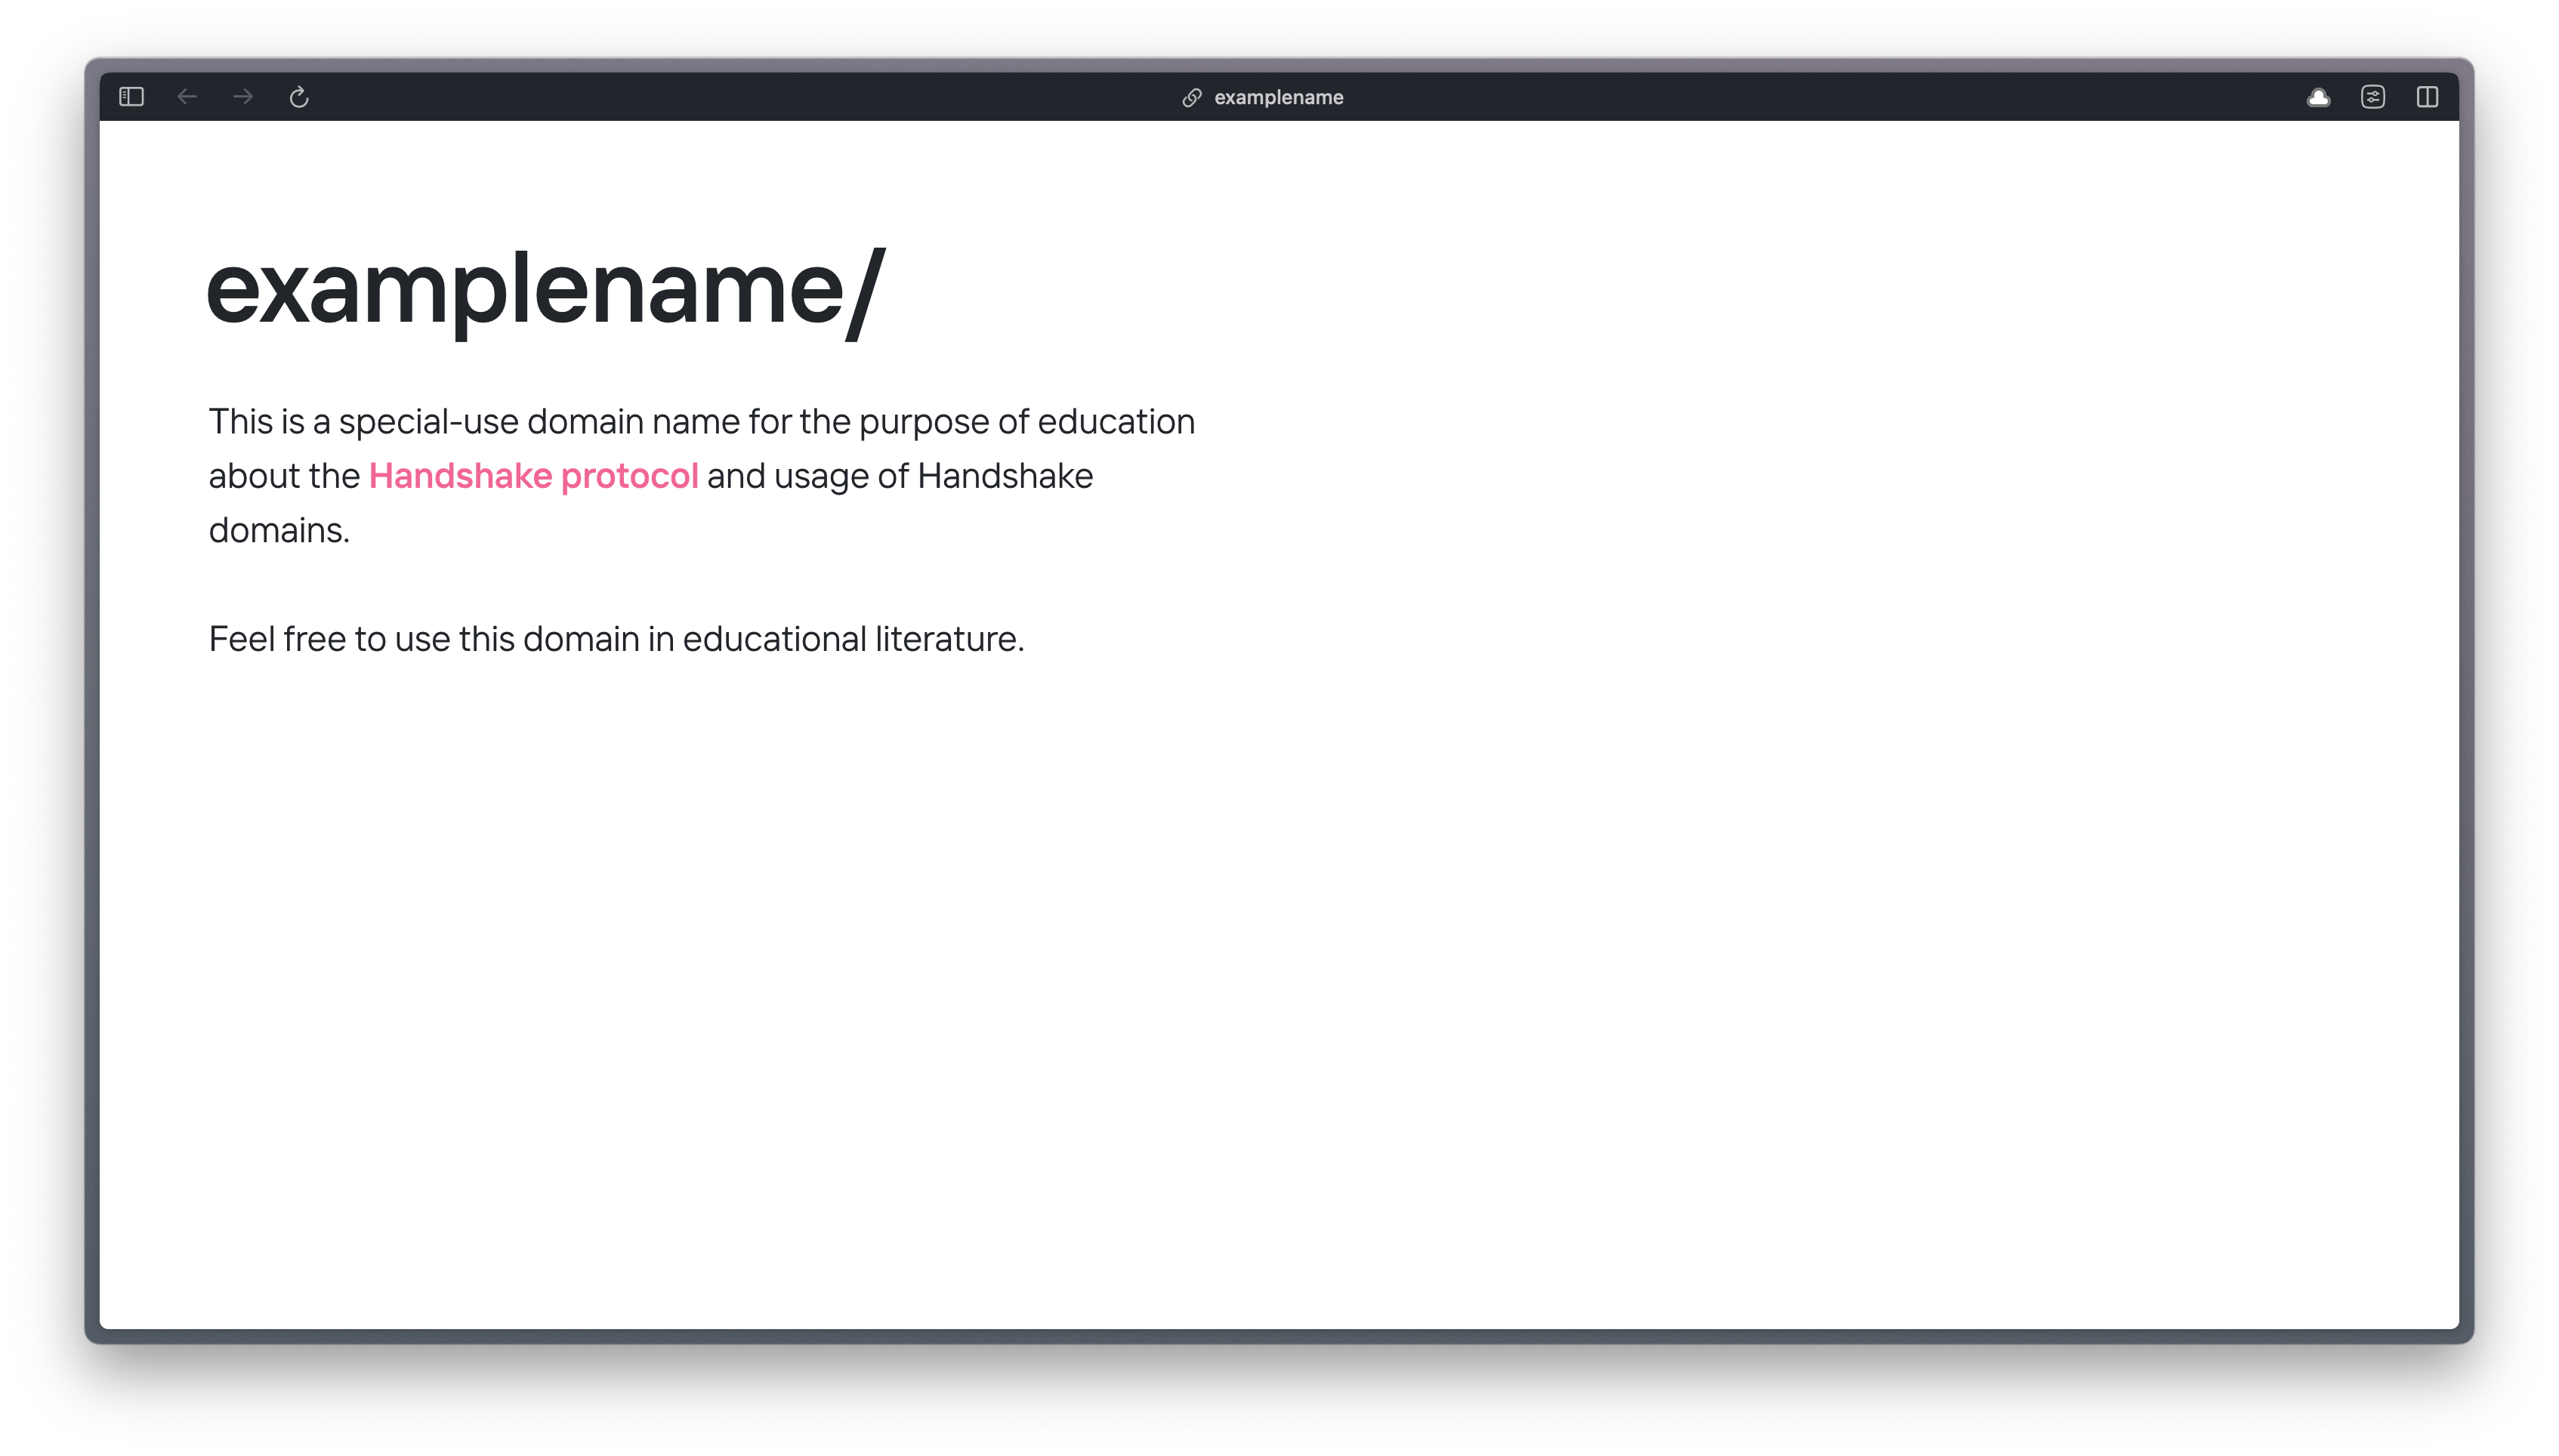
I acquired this TLD for the sole purpose of educational content for the Handshake community. It’s effectively our version of example.com.
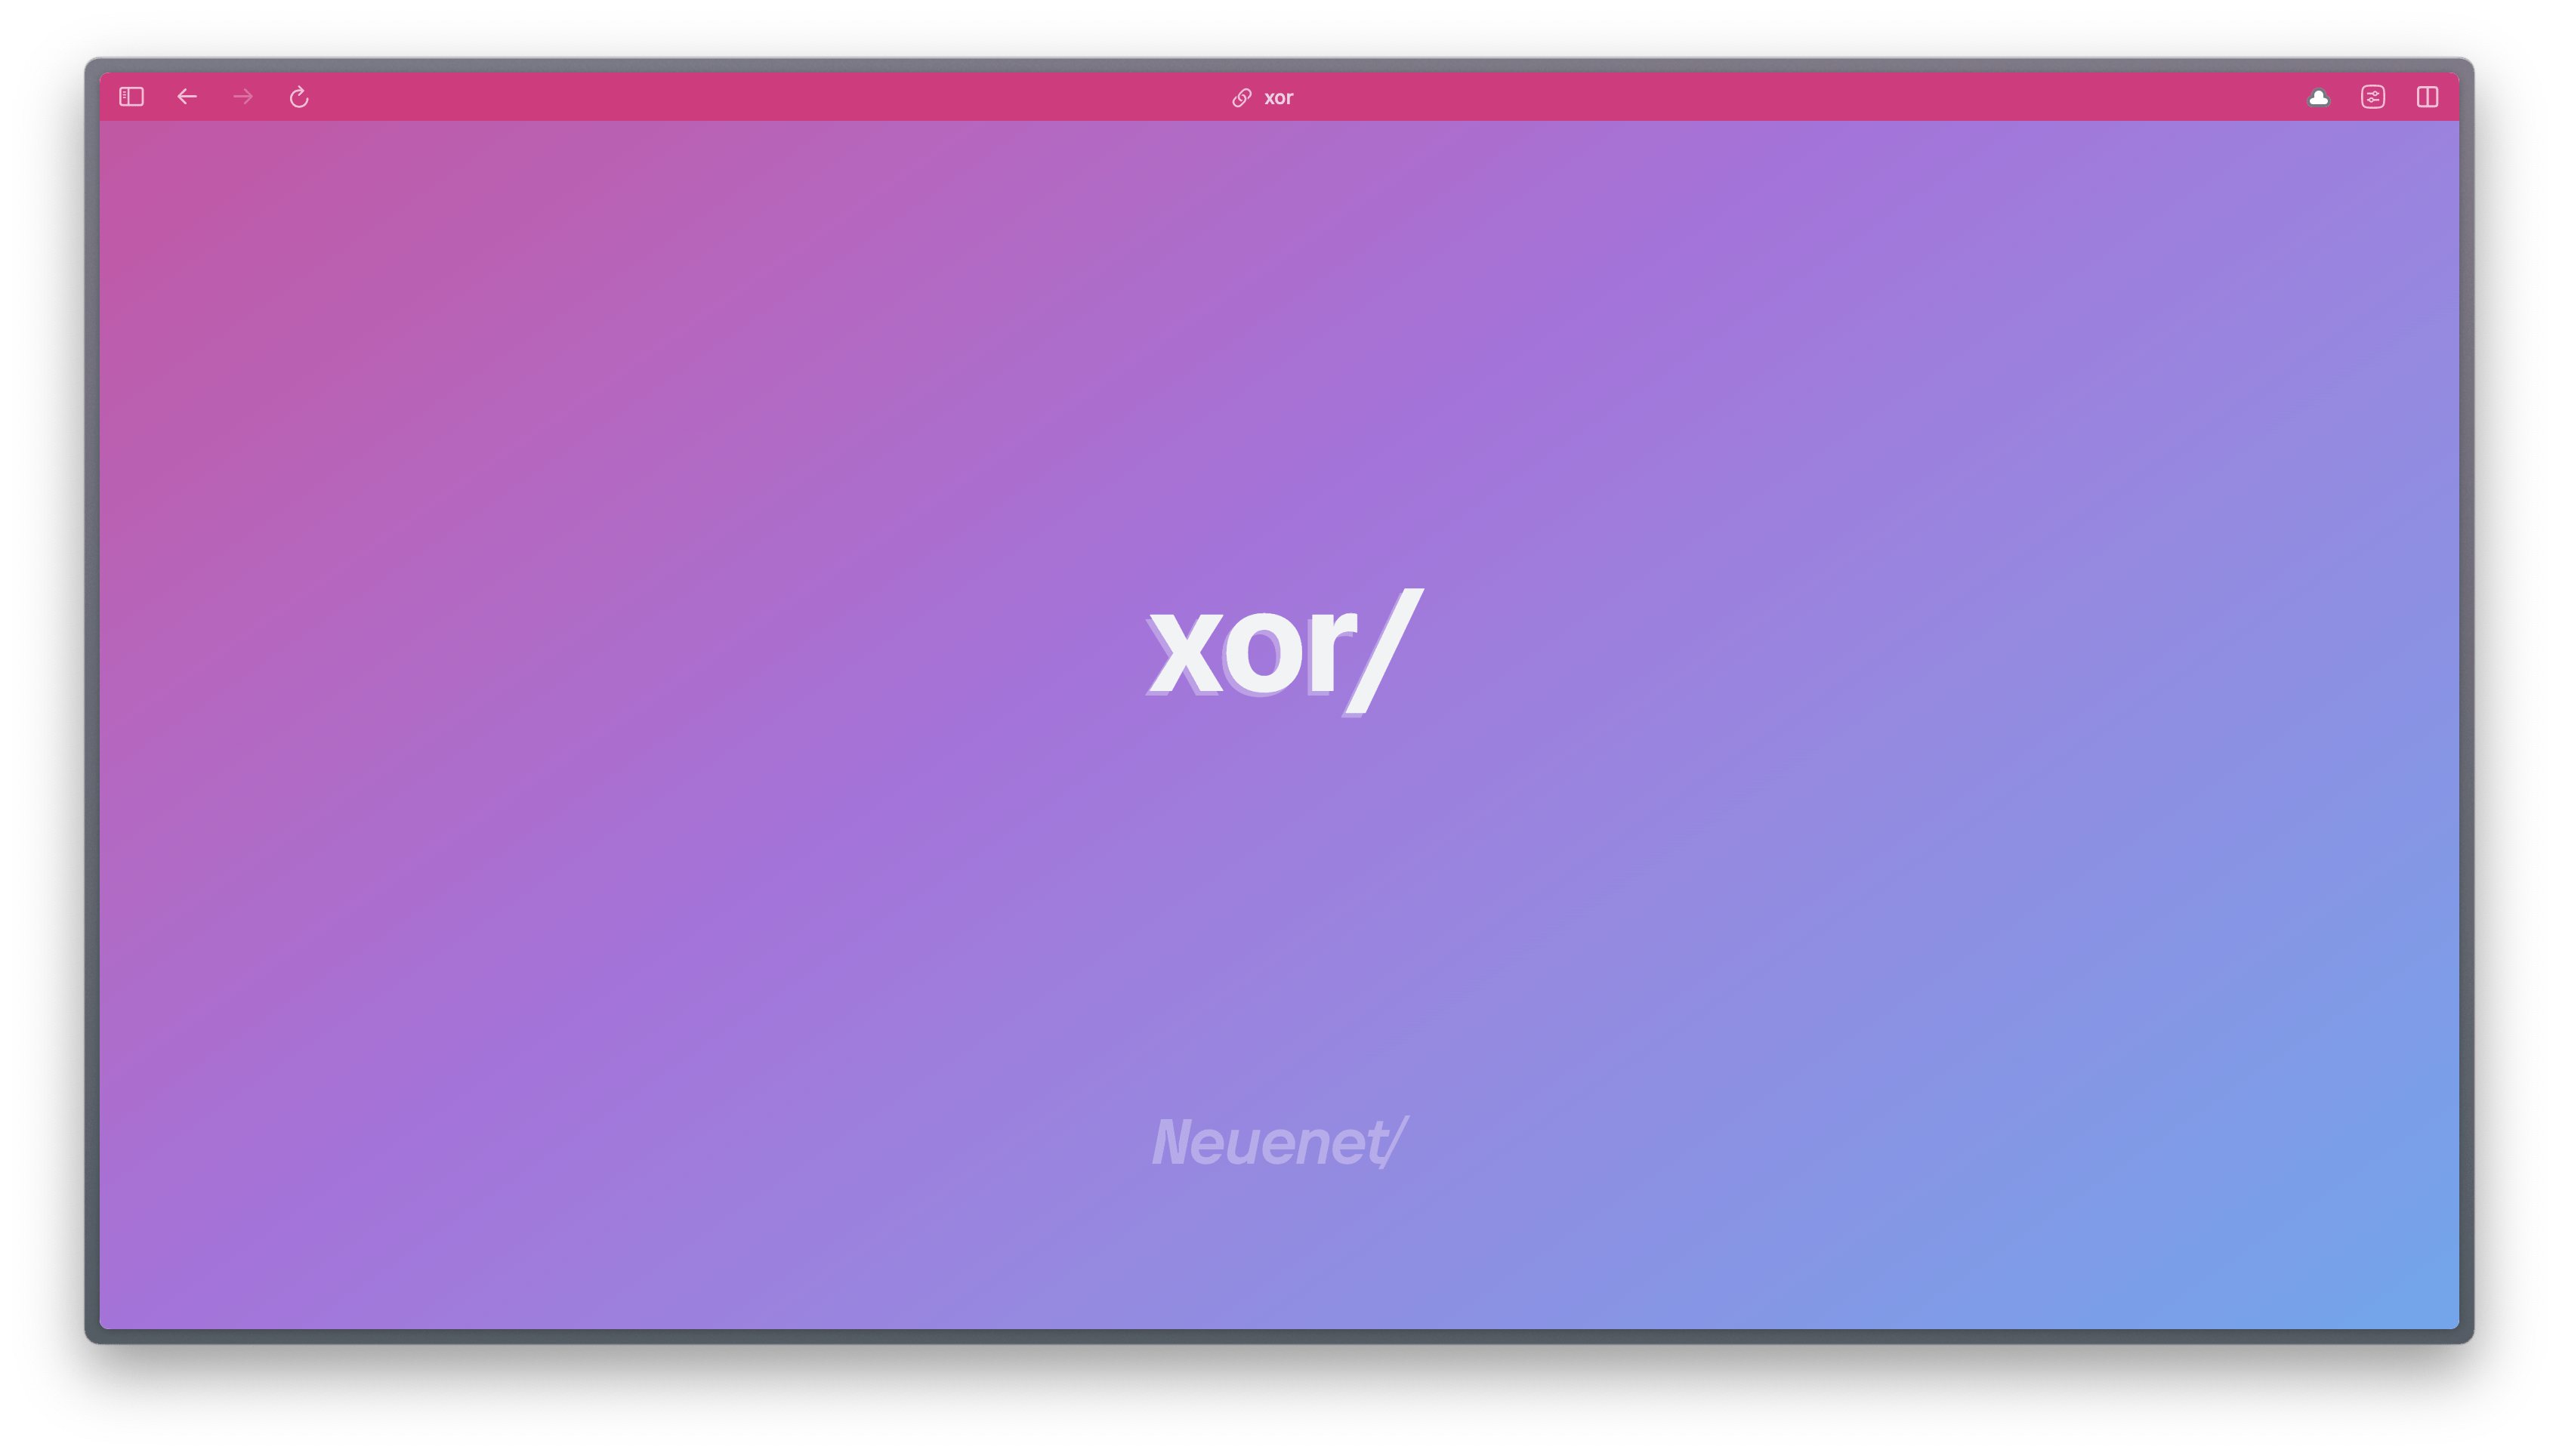
The rest of my TLD sites share a uniform look (the background gradient is animated):
There is a dearth of content on Handshake and understandably so (how many words did you just read); things are very early and the need for technical folks to break things down and make tools is quite high. Hopefully, this guide helped you!
If you’ve found an error or see where this guide could be improved, feel free to open an issue in the neuenet/dolo-www repo.
Good grief that guide was long…might as well browse the features and/or get your questions answered in the FAQ!